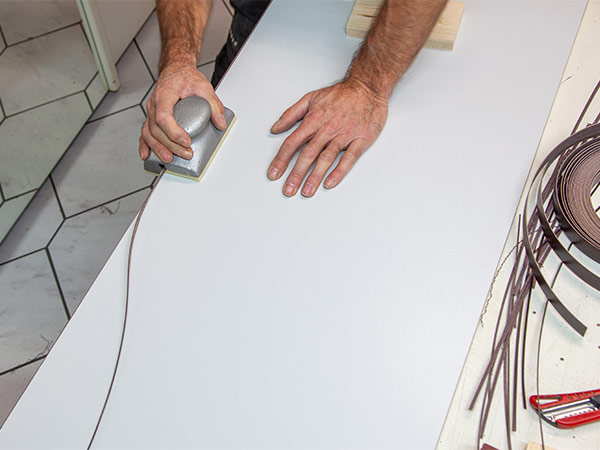

How to Create a Beautiful Finish with Edge Banding
Does your DIY woodworking project need a beautiful finishing touch? Edge banding is an elegant solution that doesn’t require a lot of tools or effort to make even simple plywood look high end. Sometimes called edge laminate or veneer banding, this nifty product can cover surfaces like drawer fronts, cabinets, shelves, or just about anything you want to tackle in your garage or wood shop.
What is Edge Banding?
Edge banding is typically made in rolls of super thin wood, such as birch or oak. It’s flexible, and comes in rolls of varying lengths and widths. When affixed, it provides a smooth, clean finishing touch with a wood-grain effect. You can affix edge banding to many surfaces, including wood, plywood trim, particle board, hardboard, and even metal.
Note: If your chosen edge banding product has glue already attached, it will say so on the packaging. Sometimes packaging or instructions note that it can be “ironed on.” If no adhesive has been pre-applied, the product will note that you will need contact cement to affix it to your chosen surface.
What Tools Do You Need to Work with Edge Banding?
Tools that can help apply edge banding are simple, making it great for the DIYer or as a first-time project:
- Edge banding
- Household iron (if using iron-on edging)
- Contact cement and short-nap roller (if using paper-backed edging)
- Scissors, extendible length utility knife, or straight-cut snips
- Heavy hand roller (to remove air gaps)
- Edge band trimmer
- Metal file (optional)

Where and How is Edge Banding Applied?

- Cut a length of edging from the roll. After you measure out a length of edge banding that is a little longer than your project surface, you can either bend and tear a piece of banding by hand or use your straight-cut snips to cut it.
- Apply the edging. For iron-on banding, set the iron to the highest setting (approximately 400°F – or the “cotton” setting). Start at one end, align the edging to the surface, and firmly press the iron on the edging to heat the adhesive and affix the edging in place at one end. Carefully center the banding as you move down the length of edging with your free hand. You can repeat this process as needed to ensure all the adhesive has been activated.
For paper-backed edging, apply contact cement to the entire project surface as well as to the entire back of the edge banding, then center and press the length of banding to the surface. (Very porous surfaces may require two applications of contact cement.)
- Roll out the edging. After heating the edging, use your roller to evenly distribute the still warm glue under the edging and into the end grain of the plywood or your project material. The act of rolling will also help to force out any air bubbles that might have been trapped in the adhesive. If you’re using paper-backed edging, after smoothing the edging in place with your hands, use a tool such as a j-roller, or a veneer blade or similar, to put even, firm pressure to properly press the edging onto the surface.
- Trim excess. To trim the overhanging edging on each piece (after the glue is fully set or the iron-on adhesive is completely cooled), use a set of flush-cut snips to trim the excess on the ends. You can also use an extendible length utility knife to get fully flush to the end of the banding.
Then, to trim the sides if you had a small amount of overlap, you can easily trim the excess edging with a hand-held edge-band trimmer with a simple motion down the length of your project in the direction of the grain.
- File corners to finish, as needed. For round corners, use a heavy metal file to easily burnish the edges. Because of the glue on the banding, a quick going over with a metal file is a great choice vs. a sanding block.
Get Your Project Finished at McCoy’s
No matter your skill level, the experts at McCoy’s can help you get your project from a dream to reality. Impress your friends and family with a beautiful finishing touch, like edge banding, and make your project into a work of art!
